Special Features
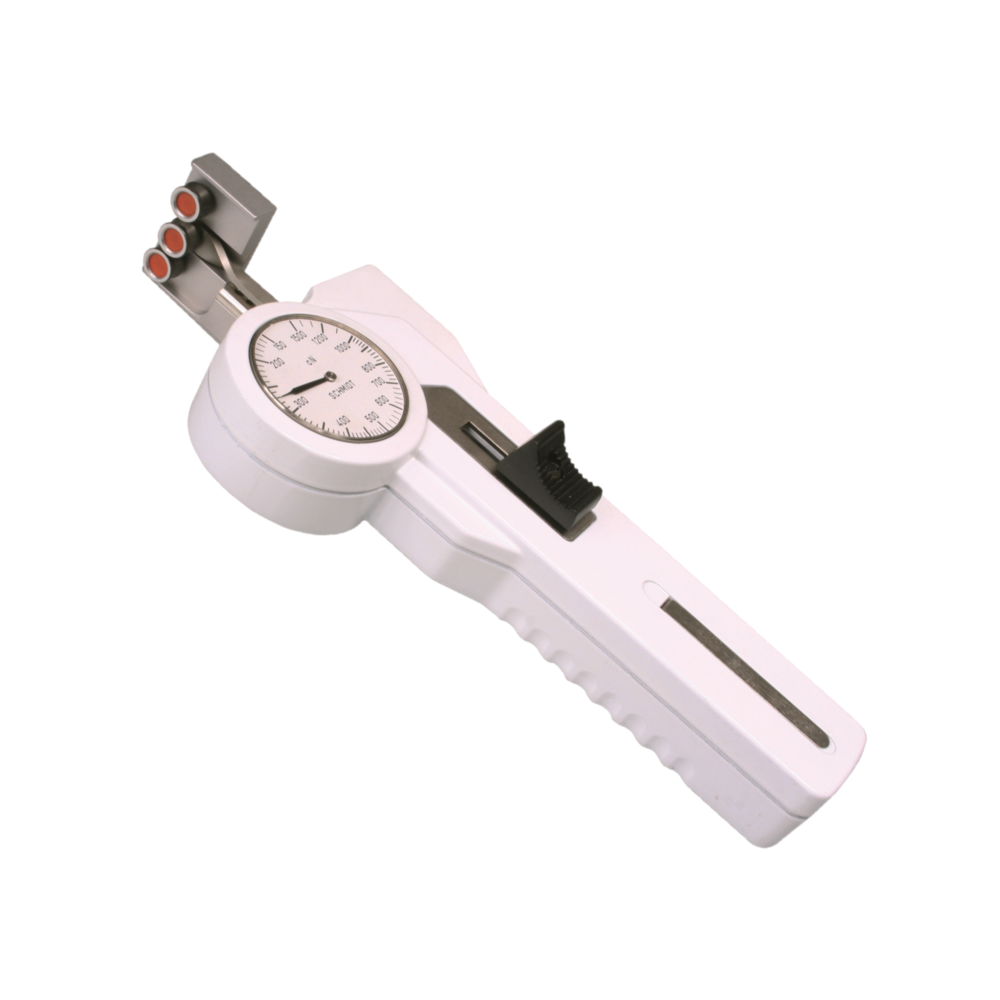
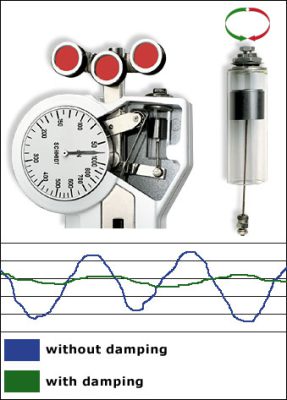
- The analog display of tension meter DXV shows changing and fluctuating tensions fast and enables an optimal process adjustment
- Small measuring head width with of only 40 mm for measurements at positions with limited space
- Length of measuring head approx. 42 mm
- Turned-up outer finger edges guide the running filament into the roller grooves
- Roller shifting mechanism ensure easy acquisition of the running material
- Built-in mounting holes permit fixed installation for continuous tension measurement
- Special finger support located on the rear side reduces the effort to move the outer roller assembly
- Small, ball-bearing mounted, V-grooved guide rollers
Standard Features
- Everything in operator’s view:
– the guide rollers
– the measured material
– the readings - Each instrument is individually calibrated for highest accuracy
- 41 mm Ø scale
- Tension meter with rugged aluminium housing
- Certificate of Compliance with the order 2.1 according EN 10204 is included
- Optionally available: Inspection Certificate 3.1 according EN 10204 with calibration report
 Finger Support
We recommend mounting a finger support for higher tension ranges
Note
Tension meter DXV does not include a material thickness compensator
Available Models
| Model | Tension Range |
Measuring Head Width* X |
Measuring Head Length Y |
SCHMIDT Calibration Material** |
| DXV-50 | 10 – 50 cN | 40 mm | 38 mm | PA: 0.12 mm Ø |
| DXV-120 | 20 – 120 cN | 40 mm | 38 mm | PA: 0.12 mm Ø |
| DXV-200 | 20 – 200 cN | 40 mm | 38 mm | PA: 0.12 mm Ø |
| DXV-400 | 20 – 400 cN | 40 mm | 38 mm | PA: 0.20 mm Ø |
| DXV-1000 | 50 – 1000 cN | 40 mm | 38 mm | PA: 0.30 mm Ø |
| DXV-1500 | 150 – 1500 cN | 40 mm | 38 mm | PA: 0.30 mm Ø |
| DXV-2000 | 200 – 2000 cN | 40 mm | 38 mm | PA: 0.50 mm Ø |
Other tension ranges available on request.
Other units of measure available, such as g.
* Width of bracket assembly
** Suitable for 95 % of applications – PA = Polyamide Monofilamen
Calibration to customized material:
If process material differs significantly from the SCHMIDT calibration material in diameter, rigidity or shape, special calibration using customer supplied samples is recommended. For this purpose a material sample of about 5 m should be supplied.


 Finger Support
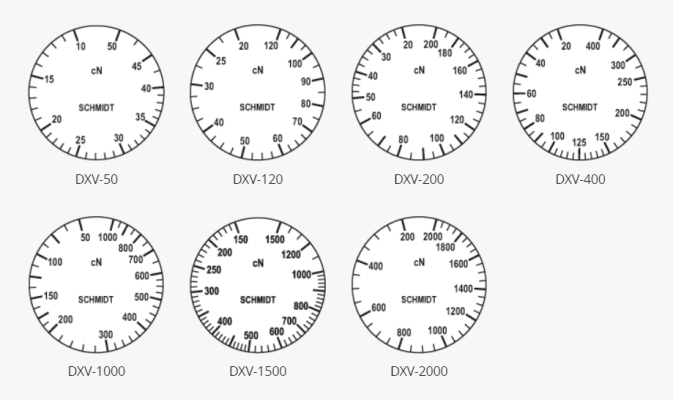 SCHMIDT scales are manufactured according to the most stringent quality requirements. Printed scales are not used. Instead, each scale is individually marked for the instrument involved. This ensures highest quality. Our special procedure makes it possible to provide tension meter DXV
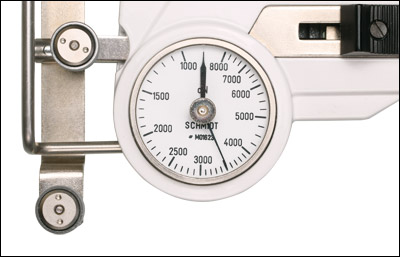 For tension range 20 – 120 cN and higher
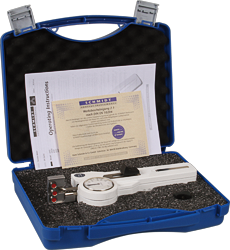 Tension meter with carrying case, operating instruction in German or English (as requested), Certificate of Compliance with the order 2.1 according EN 10204 free of charge