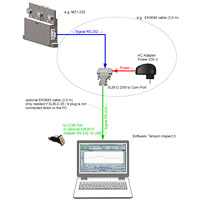
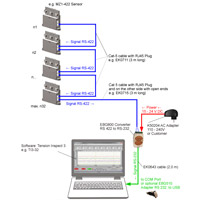
Special Features
- Small, compact housing
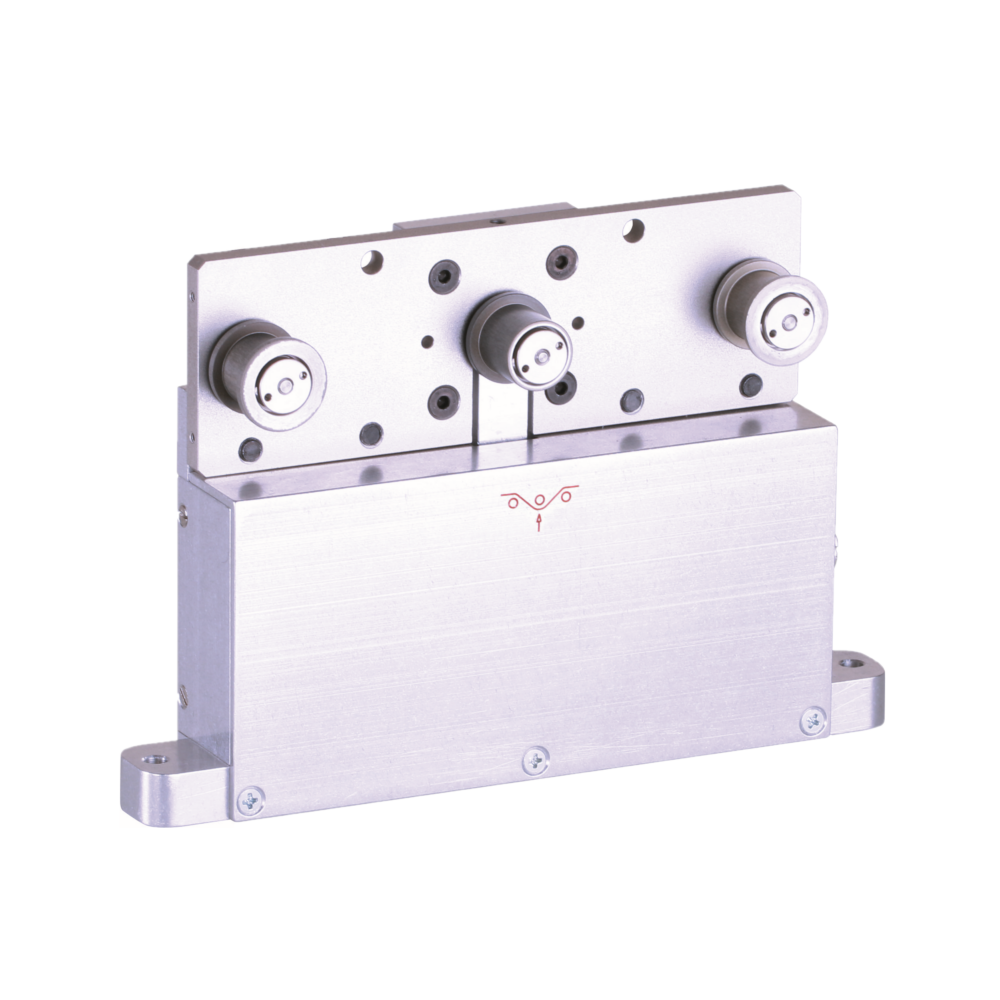
- Tension sensor MZ1 with integrated measuring amplifier and high accuracy of 2 % FS
- Typical material path – warping the 3 rollers
- Various roller widths from 7 mm up to 20 mm, according to the application are available. The roller width must correspond with the width of the material to be measured
- Various output signals are available:
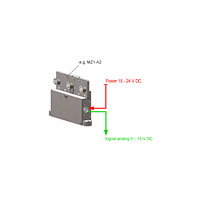
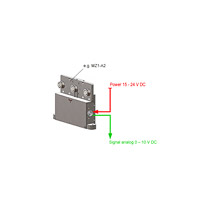
– analog: 0 – 1 V DC (standard), 0 – 10 V DC (optional)
– digital (optional): USB, RS-232, RS-422 – see model MZB1-422
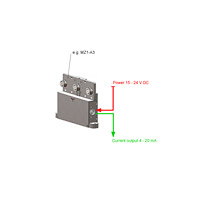
– current: 4 – 20 mA (optional) - Universal mounting possibility – easy to install, even afterwards, on existing machines:
The sensor can be mounted using the two threads at the underside of the housing body. Alternative it can be fixed on two flanges on the side of the unit. - Easy calibration to customized material by operator – zero and gain calibration is required
- Measuring principle – load cell with high quality strain gauge bridge
Standard Features
- Tape rollers, ball-bearing mounted
- Tension sensor MZB1 with Aluminium housing
- Required power supply +15…24 V DC (regulated)
- Certificate of Compliance with the order 2.1 according EN 10204 is included
- Optionally available: Inspection Certificate 3.1 according EN 10204 with calibration report
Available Models
| Model | Tension Range |
Measuring Head Width* |
Roller Width |
| MZB1-1000 | 0 – 1000 cN | 120 mm | 7, 10, 15, 20 mm |
| MZB1-2000 | 0 – 2000 cN | 120 mm | 7, 10, 15, 20 mm |
| MZB1-5000 | 0 – 5000 cN | 120 mm | 7, 10, 15, 20 mm |
| MZB1-10K | 0 – 10 daN | 120 mm | 7, 10, 15, 20 mm |
Other tension ranges available on request.
Other measuring units available, such as g or kg
* SCHMIDT calibration material depending on tension range and roller width
** Outside dimensions of front plate
Important for your order:
Please specify model and roller width! Dual-flanged outer guide rollers are standard. All 3 rollers can be equipped with one flange, if the material to be measured is wider than the rollers. Please request when you order.
Calibration to customized material:
If process material differs significantly from the SCHMIDT calibration material in diameter, rigidity or shape, special calibration using customer supplied samples is recommended. For this purpose a material sample of about 5 m should be supplied.


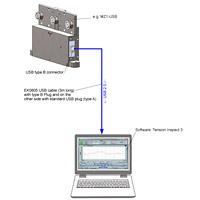
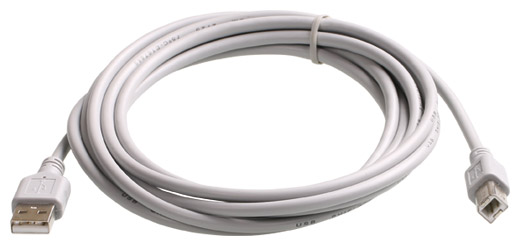 Cable for USB output to connect the tension meter to a PC.
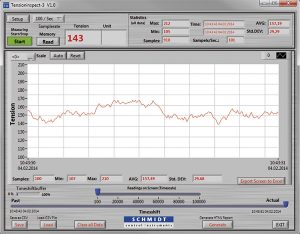 For displaying and saving readings on a PC (Win 7 and higher; 32 bit and 64 bit).
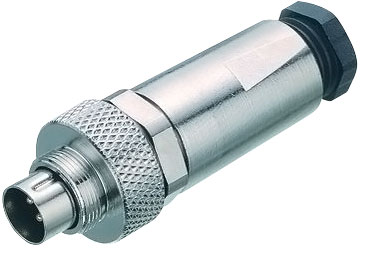 Connector suitable for sensors MZ1, MZH and MZB1,
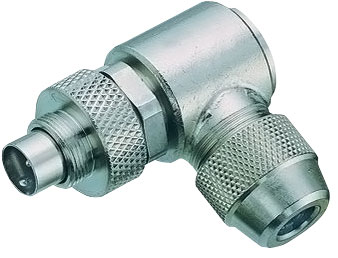 Plug suitable for sensors MZ1, MZH and MZB1,
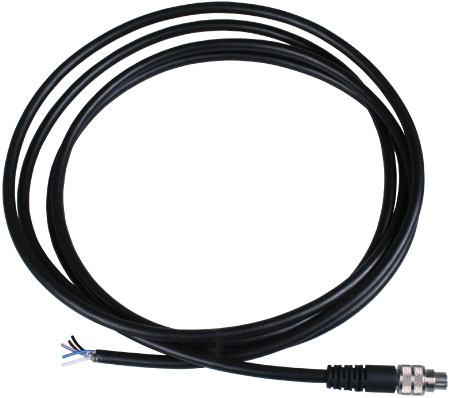 Connecting cable for an analog output.
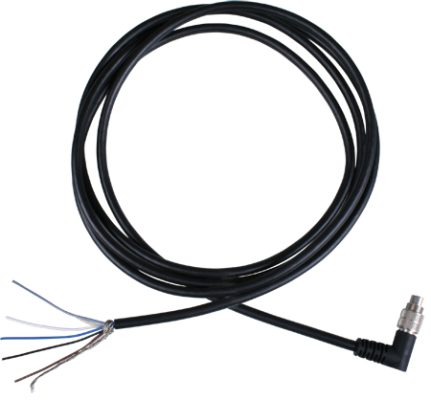 Connecting cable for an analog output.
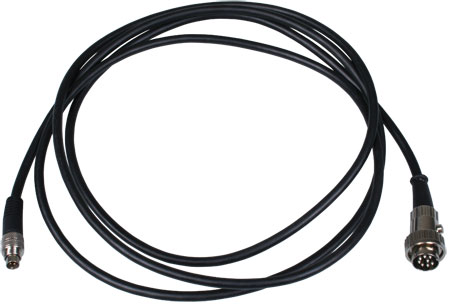 Connecting cable for analog output.
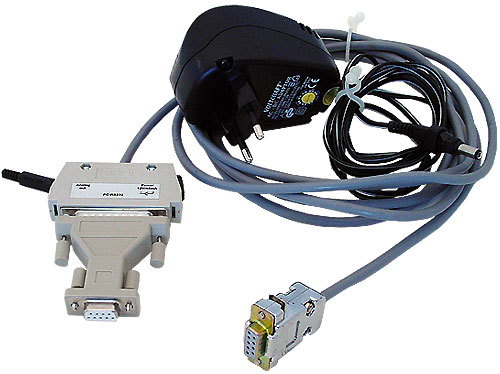 Connecting cable for tension sensor FS1 with RS-232 interface – Code 232:
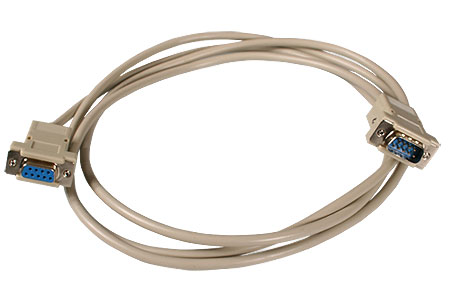 Extension cable for RS-232 connecting cable EK0640, length 2 m
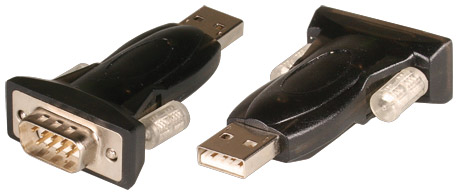 Adapter from RS-232 to USB.