Special Features
- Tension sensor FSW-422 with integrated microprocessor controlled measuring amplifier and RS-422 interface for multi station system
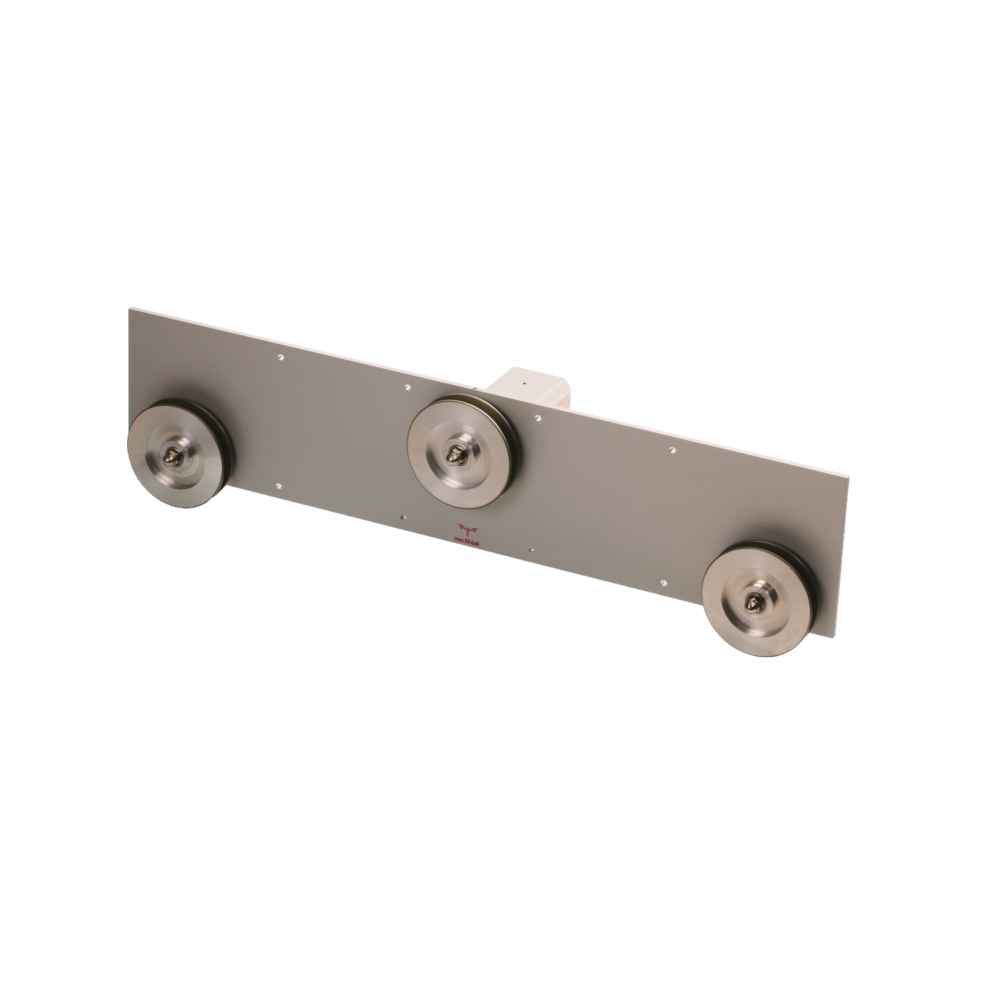
- Guide rollers 60 mm groove Ø, V-grooved or U-grooved, ball-bearing mounted
- Different guide rollers are available, according to the application
- Easy installation, even afterwards, on existing machines
- 2 Mounting possibilities: housing mounting or cylindrical hole mounting (mounting cut out: longhole R 19 mm, length 54 mm)
- Easy calibration to customized material by operator – zero and gain calibration is required
- Measuring principle – loadcell with high quality strain gauge bridge
- Tension sensor with mechanical overload protection
Standard Features
- Control lamp shows operative mode availability
- Tension sensor FSW-422 with aluminium housing
- CAT 5 cables are used for data transfer
- Required power supply +15…24 V DC (regulated)
- Certificate of Compliance with the order 2.1 according EN 10204 is included
- Optionally available: Inspection Certificate 3.1 according EN 10204 with calibration report
Special features of the RS-422 interface:
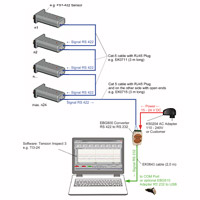
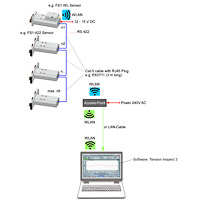
- Up to 24 sensors with different tension ranges and designs may be connected in one line (data transfer max. 200 readings/sec.)
- Connection to RS-232 using a converter (RS-422 – RS-232).
- The RS-422 signal can be used for a single sensor over a distance of 1000 m.
- Each sensor can individually be addressed and set up
- Can be connected to PLC controls with digital input
- Simple connection to BUS-Systems using gateways
Available Models
| Model | Tension Range |
Measuring Head Width* |
SCHMIDT Calibration Material** |
| FSW-20K-422 | 0 – 20 daN | 550 mm | steel rope 1.50 mm Ø (7x7x0.20) |
| FSW-50K-422 | 0 – 50 daN | 550 mm | steel rope 3 mm Ø (6x7x0.30) |
| FSW-100K-422 | 0 – 100 daN | 550 mm | steel rope 4 mm Ø (6x7x0.50) |
| FSW-200K-422 | 0 – 200 daN | 550 mm | steel rope 4 mm Ø (6x7x0.50) |
Other tension ranges available on request.
Other measuring units available, such as kg.
* Outside dimensions of front plate
Calibration to customized material:
If process material differs significantly from the SCHMIDT calibration material in diameter, rigidity or shape, special calibration using customer supplied samples is recommended. For this purpose a material sample of about 5 m should be supplied.


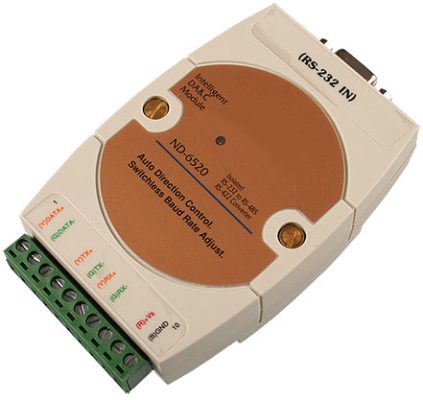 Converter from RS-422 to RS-232 with terminal strip.
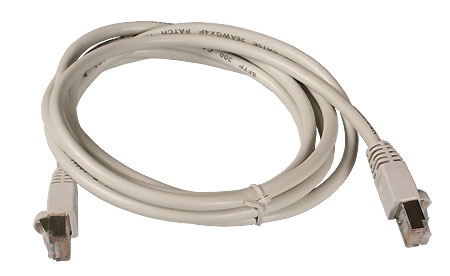 Cat 5 cable for series connection of FS sensors.
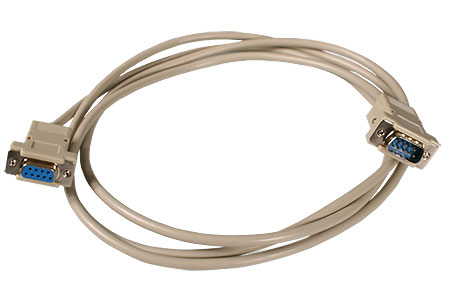 Connecting cable for connecting EBG-800 converter to PC, length 2 m.
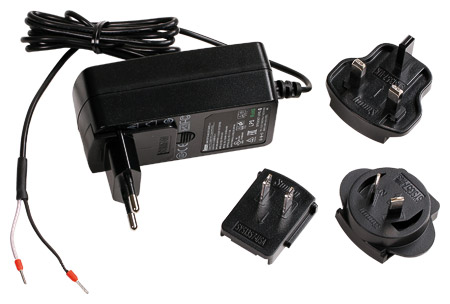 Recharger with 4 adapters (EU/USA/UK/AUS-NZL) for worldwide use,