Special Features
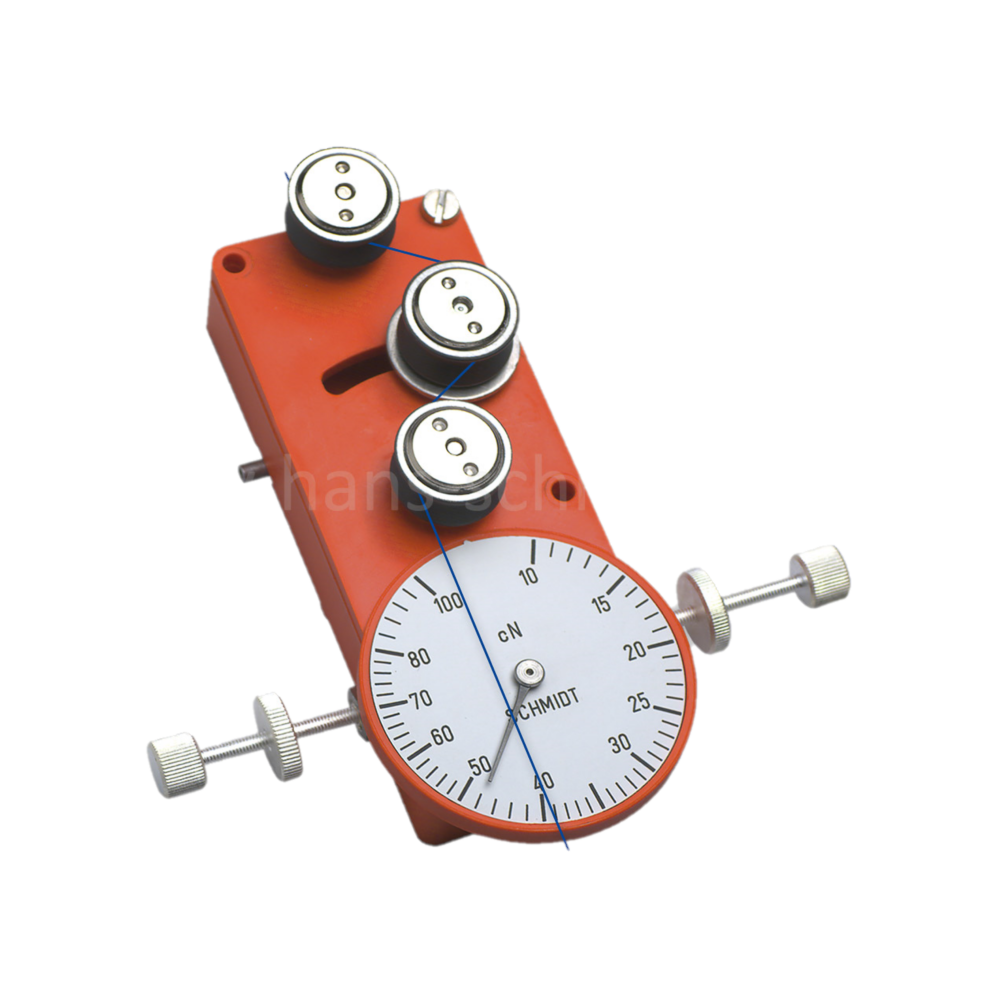
- The analog display shows changing and fluctuating tensions fast and enables an optimal process adjustment
- Easy online mounting with screws
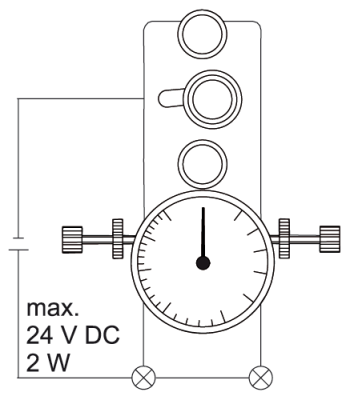
- User-set MIN and MAX limits alert operator to out-of-tolerance conditions (optional)
- Small, compact tension meter MK
- Note: Tension meter MK do not include a filament guide and material thickness compensator
Standard Features
- Everything in operator’s view:
– the guide rollers
– the measured material
– the readings - Ball-bearing mounted, V-grooved guide rollers
- Each instrument is individually calibrated for highest accuracy
- Ø 41 mm scale
- Tension meter with plastic housing (Makrolon)
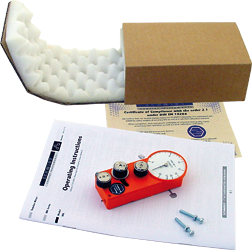
- Certificate of Compliance with the order 2.1 according EN 10204 is include
- Optionally available: Inspection Certificate 3.1 according EN 10204 with calibration report
Available Models
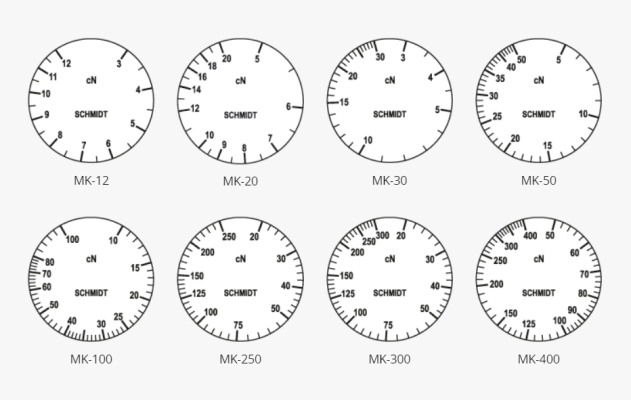
| Model | Tension Ranges |
Measuring Head Width* |
SCHMIDT Calibration Material** |
| MK-12 | 3 – 12 cN | 56 mm | PA: 0.12 mm Ø |
| MK-20 | 5 – 20 cN | 56 mm | PA: 0.12 mm Ø |
| MK-30 | 5 – 30 cN | 56 mm | PA: 0.12 mm Ø |
| MK-50 | 10 – 50 cN | 56 mm | PA: 0.12 mm Ø |
| MK-100 | 10 – 100 cN | 56 mm | PA: 0.12 mm Ø |
| MK-250 | 20 – 250 cN | 56 mm | PA: 0.12 mm Ø |
| MK-300 | 20 – 300 cN | 56 mm | PA: 0.20 mm Ø |
| MK-400 | 50 – 400 cN | 56 mm | PA: 0.20 mm Ø |
Other tension ranges, measuring head widths available on request.
Other units of measure available – g.
* Outer distance between outside guide rollers.
** Suitable for 95 % of applications – PA = Polyamide Monofilament
Calibration to customized material:
If process material differs significantly from the SCHMIDT calibration material in diameter, rigidity or shape, special calibration using customer supplied samples is recommended. For this purpose a material sample of about 5 m should be supplied.


 SCHMIDT scales are manufactured according to the most stringent quality requirements. Printed scales are not used. Instead, each scale is individually marked for the instrument involved. This ensures highest quality. Our special procedure makes it possible to provide tension meter MK
 When the tension exceeds or falls below the adjusted tension range, a signal according to the circuit diagram may be shown. The range will be adjusted with the screws. It is a mechanical contact. Example for a circuit
 Tension meter MK in transport packaging, mounting screws, operating instruction in German or English (as requested), Certificate of Compliance with the order 2.1 according EN 10204 free of charge charge