Edit Keyboards
Next Generation
Editing
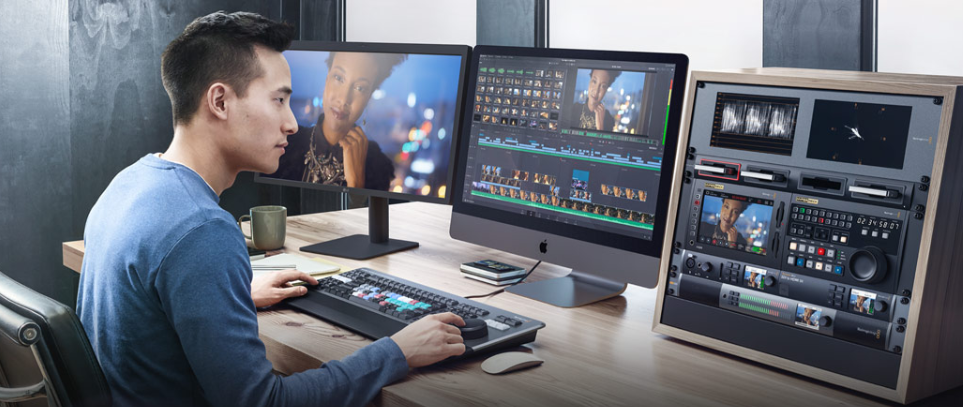
The DaVinci Resolve keyboards have been designed in conjunction with the cut page to make editing dramatically faster. You get physical controls that you can feel in your hands, making the experience much better than software only editing. Unlike a mouse, the machined metal search dial with soft rubber coating allows very accurate search and positioning of the timeline. It feels just like holding the timeline in your hand! Trim keys allow the search dial to be used for live trimming, which is faster because the search dial is larger and more accurate. Editing and trimming with the search dial is a whole new way to work! All of this means DaVinci Resolve is the next generation of editing!
Two Models

DaVinci Resolve
Speed Editor
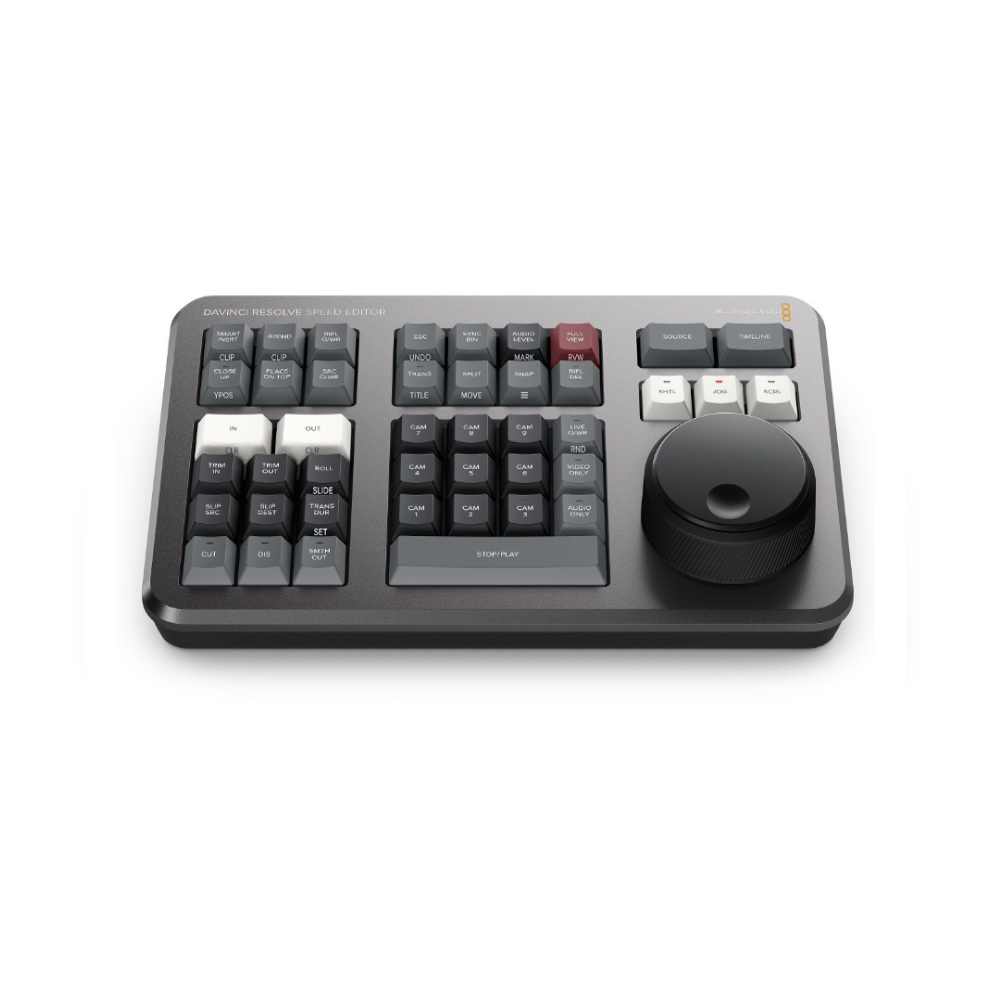
The DaVinci Resolve Speed Editor features a machined metal search dial in a design that includes only the specific keys needed for editing. It also has Bluetooth with internal battery for connecting wirelessly, or you can connect via USB-C. That means it’s more portable than a full sized keyboard!
DaVinci Resolve
Editor Keyboard
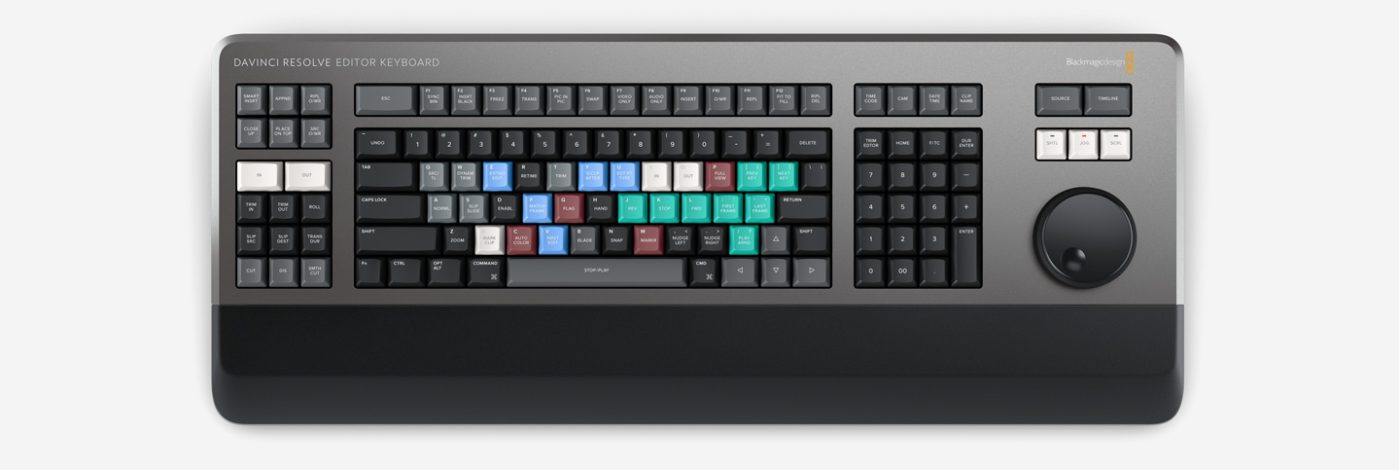
The DaVinci Resolve Editor Keyboard is a full sized traditional QWERTY edit keyboard in a premium, all metal design. Featuring a machined metal search dial with clutch, it also includes extra edit, trim and timecode entry keys. It’s even designed to install via a desk cut-out for flush mounting!
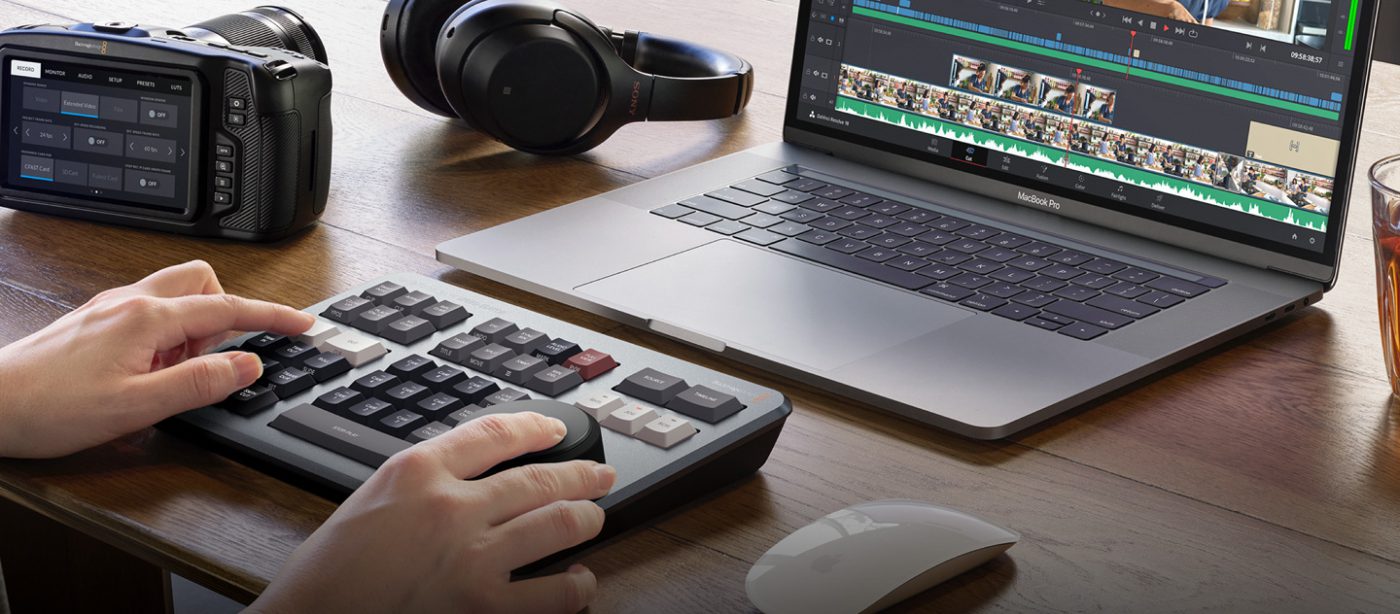
DaVinci Resolve Speed Editor
Search Dial Control
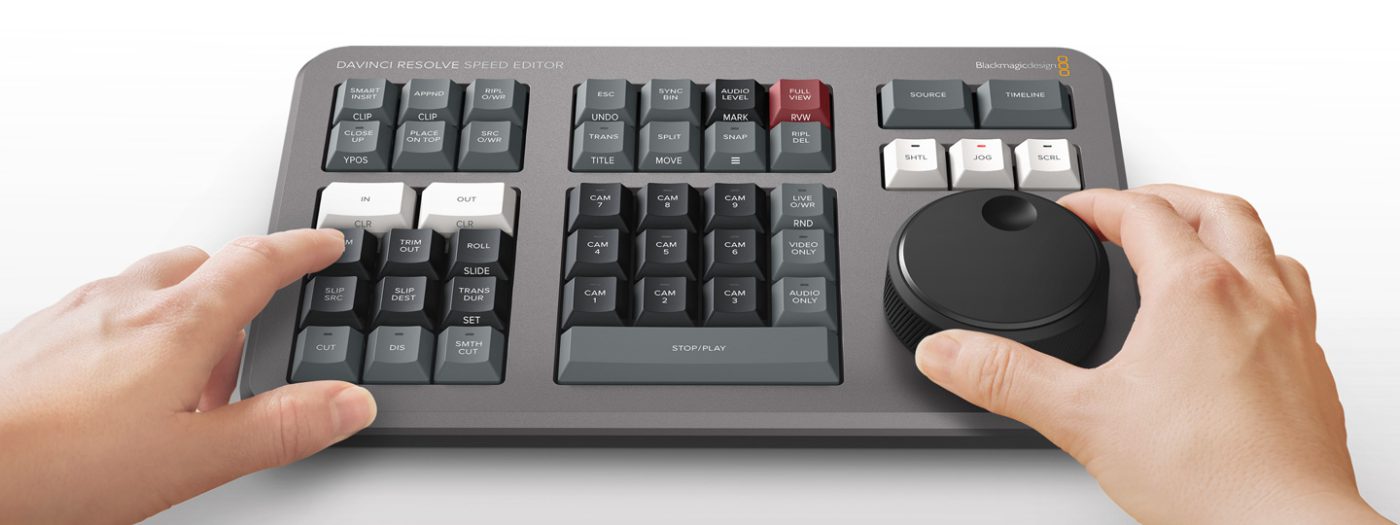
The DaVinci Resolve keyboards allow a better quality editing experience because they create a physical connection to the edit that’s deeper than a simple computer mouse. The search dial is a machined metal design so it has a weighted feel and it can be spun fast to move up and down the timeline quickly. However the
search dial is more than this because it can be used for live trimming! Simply press one of the trim buttons and the search dial will transform into a large adjustment knob for real time, precise trimming! Once you’ve experienced trimming with the search dial, it’s virtually impossible to go back to a mouse!
Transport Control
Hardware control panels are perfect for fast playback control! Instantly start and stop playback using the “space bar” style button that’s positioned so it can be pressed with your thumb! The shuttle, jog and scroll buttons change the function of the search dial, so you can edit fast and accurately.
Source Tape for Scrolling Clips
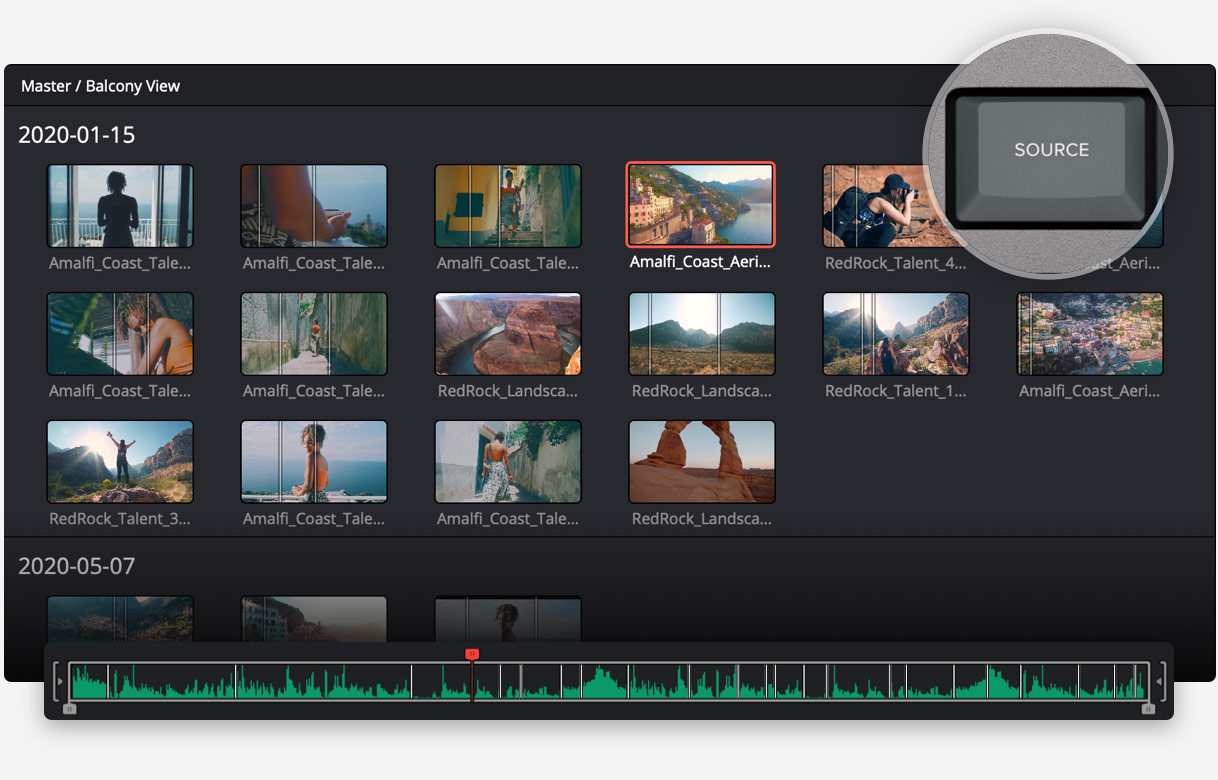
Traditional edit software uses thousands of clips to organize your media, so you need to constantly click and drag clips to edit. That’s too slow for work such as TVCs, news, promos and training videos. However old tape based linear editing had the advantage of all media being played from a videotape, so you could simply fast forward and rewind to see all your shots! Now the cut page has
a modern version of the videotape and it’s called the “source tape”. Simply push the source button and use the search dial to scroll through all your media! Plus, the current clip is highlighted live in the bin! After the edit the viewer will stay in the source tape so you can move to the next shot faster.
Fast In and Out Points
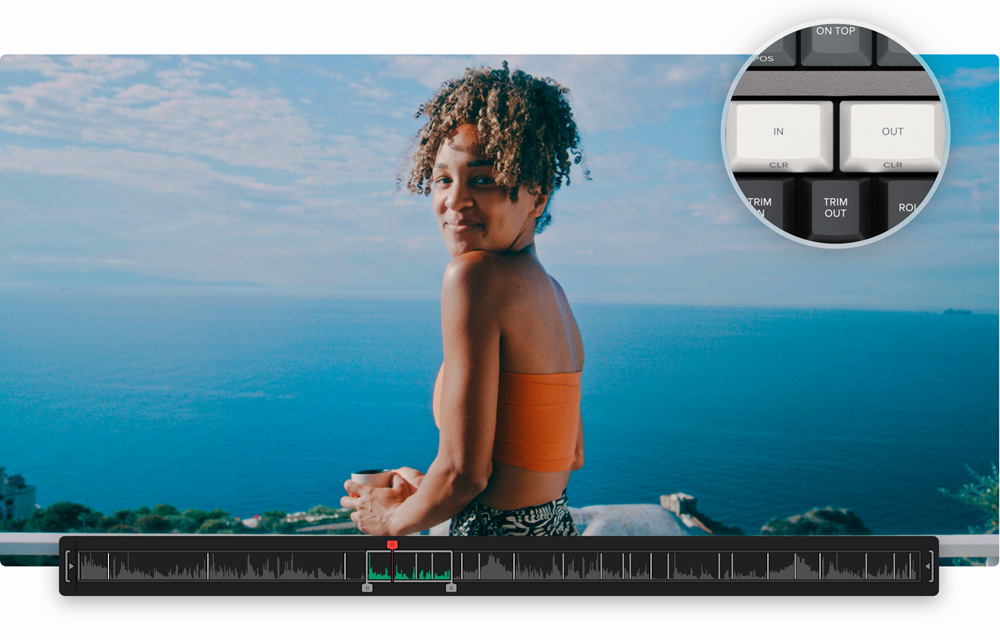
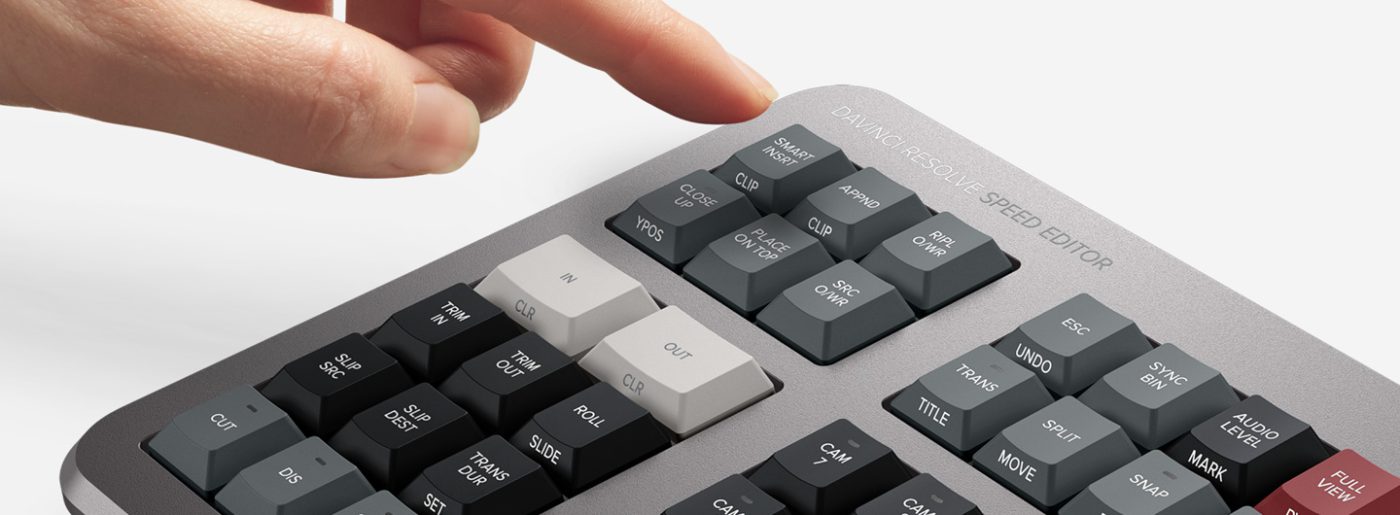
Entering in and out points is the most used function in editing, so the speed editor keyboard includes large in and out point buttons that you can easily locate by feel. That’s perfect for two handed editing where you’re using your right hand for transport control and your left hand is placing in and out points and performing edits. You can simply scroll along with the search dial and place in and
out points anywhere you want! Once the in and out points are set, just reach your fingers up to the edit function buttons to perform the edit. The in and out points can also be used to focus the source tape. Then you can change the source tape back to the whole bin by pressing the escape key.
Intelligent Keyboard Edit Modes
Editing with a keyboard is different to editing with a mouse, so the cut page editing functions have been upgraded to take advantage of the speed of a keyboard. The edit functions are intelligent and use the “smart indicator” in the timeline to work out where to insert, so most of the time you don’t need to place in or out points in the timeline to do an edit! They are located just above
the in and out keys, so are easy to locate by feel. Plus each time you edit, the cut page won’t waste time switching over to the timeline, allowing you to stay in the source tape and visually browse, placing clips continuously. That’s much faster as you can just keep throwing clips into the timeline!
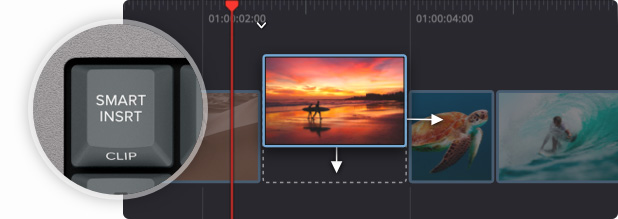
Smart Insert
Smart insert is similar to the traditional insert edit function, however it’s smarter as it eliminates the need to switch to the timeline and place an in point. All you need to do is select smart insert and it will locate the nearest edit in the timeline and insert the clip in that location!
Append To End
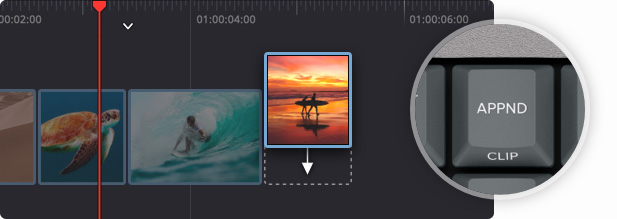
Append to end is fantastic for buildingedits fast. Simply select an in and out point on the clip and then append to end will add the clip to the end of the timeline. Append to end is fantastic when adding shots to an edit from content that’s been shot in time order.
Ripple Overwrite
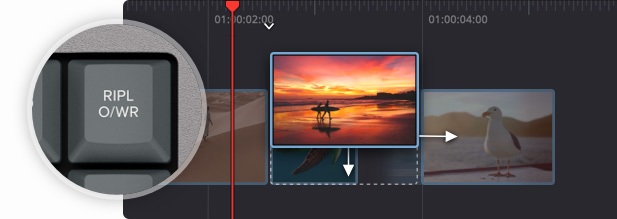
Ripple overwrite is a popular edit function and it lets you replace shots extremely quickly. When applied, it will replace the clip in the timeline with the selected clip and if the clip is a different length, it will adjust the space to accommodate the new clip and ripple the timeline duration.
Close Up
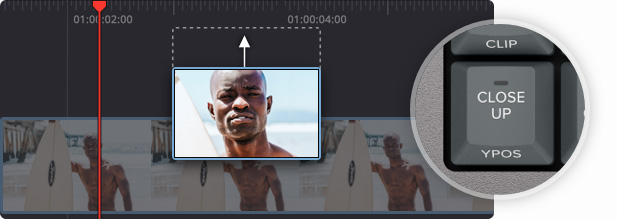
Close up is best for creating two camera angles from the one camera. Simply shoot your subject with a wide or mid shot, and then when close up is applied, it will create a slightly zoomed in version of the same camera shot and place it on top of the timeline.
Place On Top
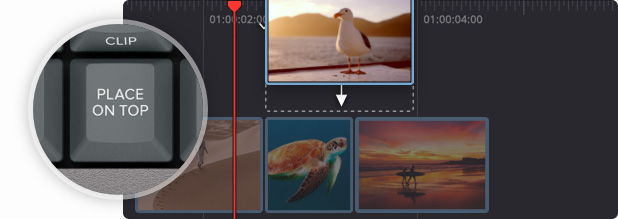
Place on top is similar to traditional edit functions and this edit mode will place the clip on top of the background layer that’s already in the timeline. If the timeline doesn’t have a layer above the background layer, it will add a new timeline track and then place the clip on top.
Source Overwrite
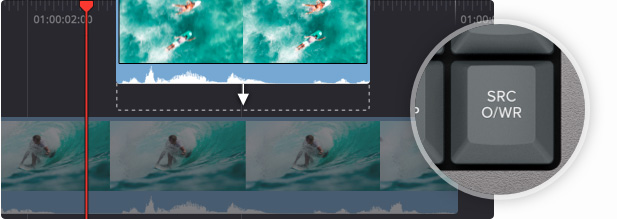
When shooting with multiple cameras and sync timecode, source overwrite lets you browse shots and add cutaways to your timeline. It automatically matches the clip timecode to the timecode of the timeline and places the clip in sync on the layer above. It’s a simpler alternative to multi‑cam!
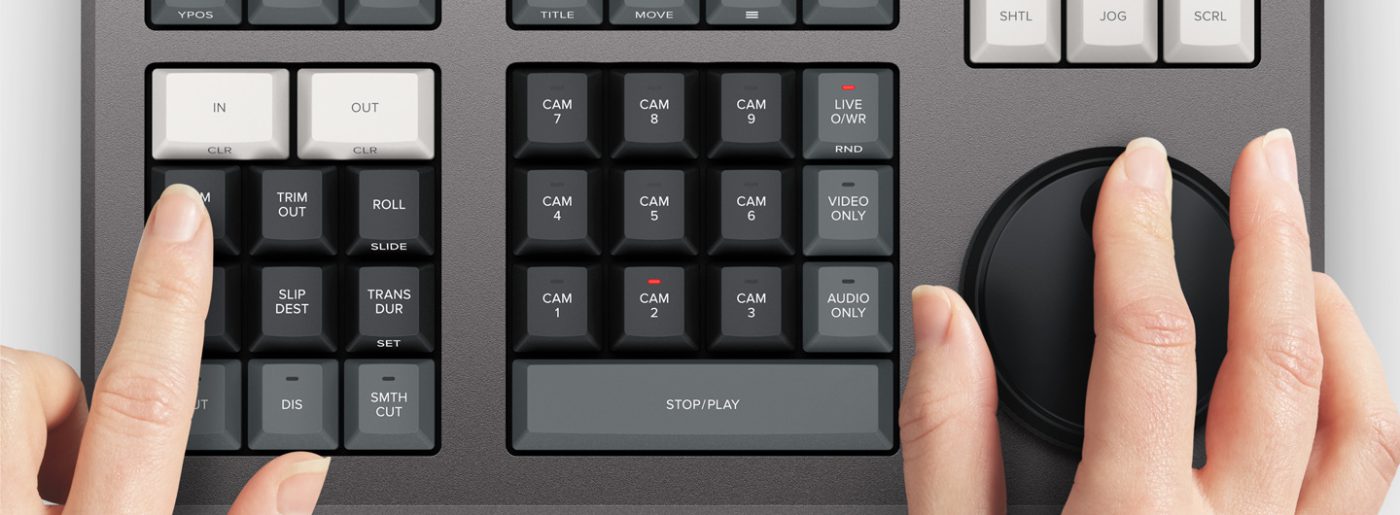
Search Dial Live Trimming
With a large high quality search dial built into the panel, you get an extremely accurate way to trim shots. With the search dial being such a physically large control, it completely transforms how it feels to trim shots. Plus it’s much faster too! The trim buttons will change the search dial into a trim control and you simply hold the trim
buttons and rotate the search dial. This means you can select various trim modes with your left hand while adjusting the trim with your right. It’s extremely fast and the smart indicator in the timeline will let you know which edit you’re trimming. Just move along the timeline and live trim edits. It’s a whole new way to work!
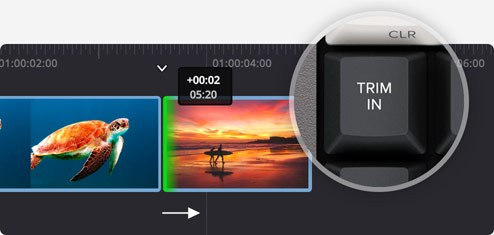
Trim In
Trim in will adjust the in point of the clip to the right of the transition highlighted in thetimeline via the smart indicator. However adjusting trim in on a single clip willreposition the in point on the clip. Alladjustments will ripple the timeline duration.
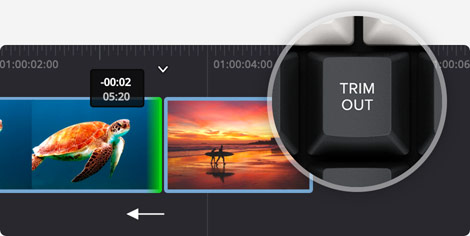
Trim Out
Trim out will adjust the out point of the clip to the left of the transition highlighted in the timeline via the smart indicator. However adjusting trim out on a single clip will reposition the out point on the clip. All adjustments will ripple the timeline duration.
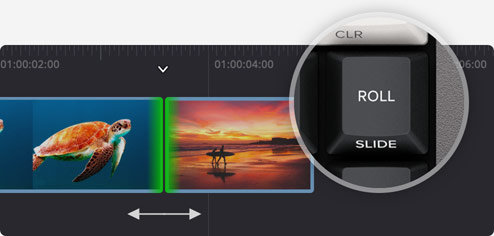
Roll
Roll is the same function as clicking the transition point to adjust it with the mouse, however it’s frame accurate because it uses the search dial. It works by rolling the transition point up and down. Double pressing will change its function to slide. Plus it doesn’t affect the timeline duration.
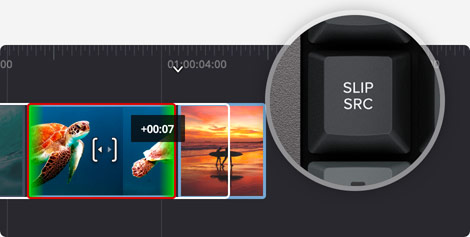
Slip Source
Slip source affects the clip to the left of the edit and it will slide the shot up and down within the current clip’s in and out point positions in the timeline. Because slip source moves the clip within the same duration, it won’t affect the overall timeline duration.
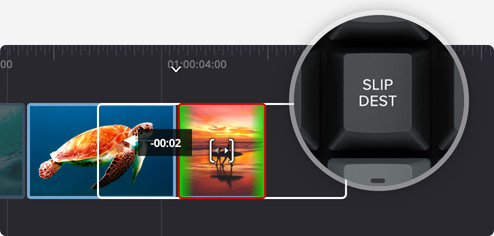
Slip Destination
Slip destination affects the clip to the right of the edit and it will slide the shot up and down within the current clip’s in and out point positions in the timeline. Because slip destination moves the clip within the same duration, it won’t affect the overall timeline duration.
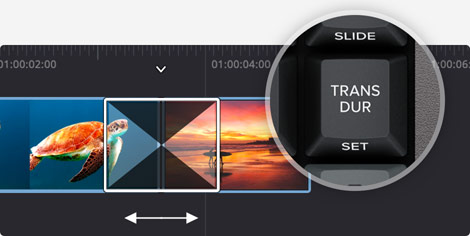
Transition Duration
One of the most popular trim controls, transition duration will adjust the duration of an effect on the edit point. When selected, adjusting the search dial will live adjust the duration of the transition. Double pressing the transition duration button will set default transition duration.
The Faster Way to
Add and Remove Effects!
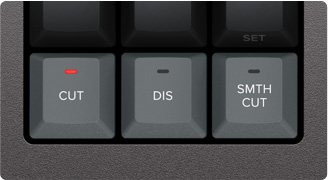
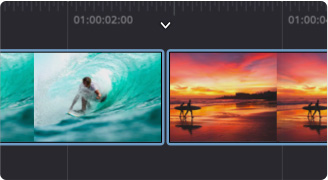
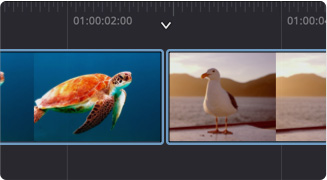
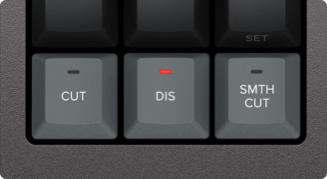
Editing software can be slow at adding transitions to edits because you have to click and drag effects down into the timeline. However, with the DaVinci Resolve Speed Editor, you can just press a button to switch them on and off! It’s really fast as you can scroll down the timeline adding or removing effects! The smart indicator in the timeline will let
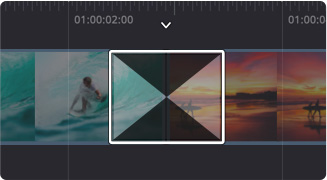
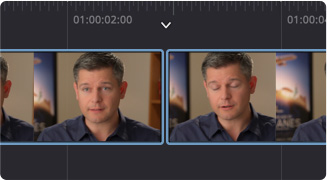
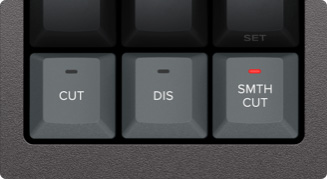
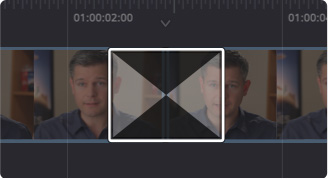
you know which edit point will be affected, and you can move the timeline to move the edit point in focus. The cut key will remove any effect on an edit point in the timeline. Pressing dissolve adds a dissolve to the edit point using the default duration. Pressing the smooth cut button adds a smooth cut so you can eliminate jump cuts!
Cut
Dissolve
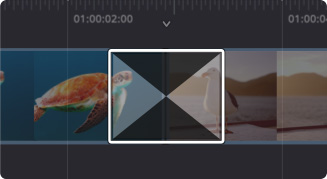
Smooth Cut
Function Keys
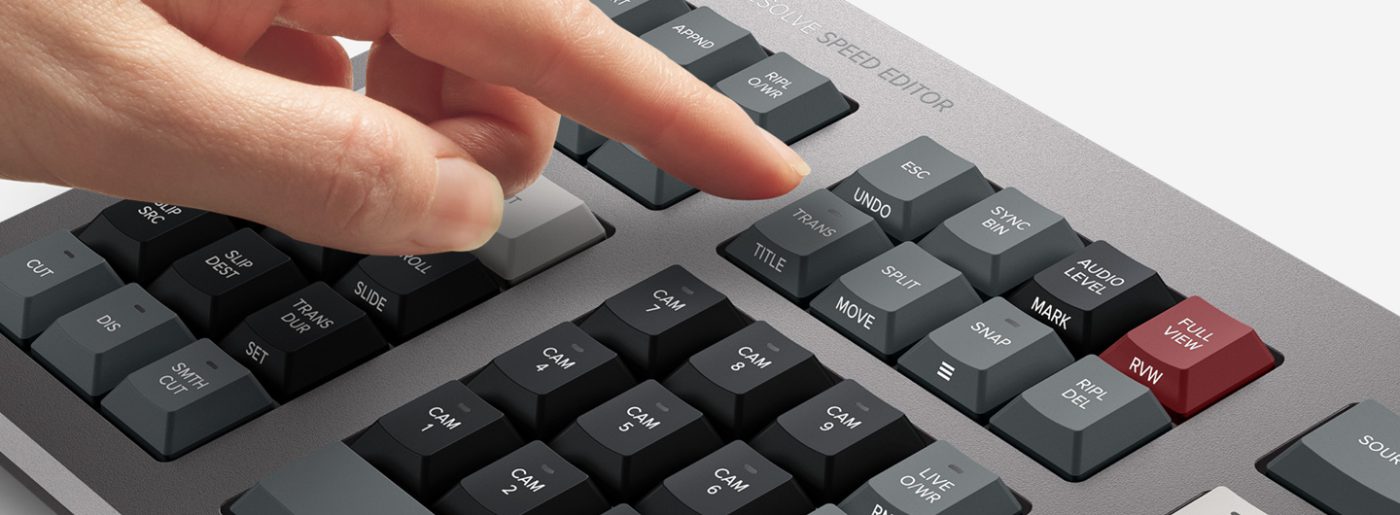
The DaVinci Resolve Speed Editor eliminates the large QWERTY keyboard for a smaller more portable design, so the function button area includes only the controls you need for editing. Some of the enhanced function keys on the DaVinci Resolve Speed Editor are not even available on the full sized editor keyboard! Plus, some keys have an
alternative function where you can press and hold or double press to get a second function using the same key. That means you need less keys for a more portable design, but it still retains a lot of editing power. The keys are in a separate group so you can find the key you need by feel and operate faster than a regular keyboard.
Escape and Undo
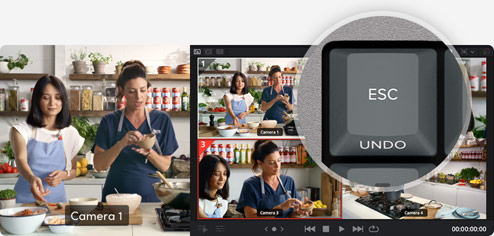
The escape key is positioned to the top left so it’s easy to locate, as it’s the most common key for reversing some functions. A good example is the sync bin and if you select a camera, you can go back to the multiview by selecting this escape key. Plus, if you double press it, it works as undo!
Sync Bin
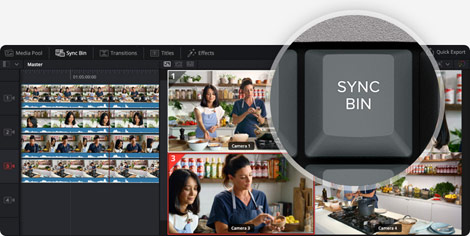
The sync bin is a new style of multi-cam and it allows you to find shots that are sync’d to thecurrent shot in the timeline. That lets you find cutaways using a familiar multiview interface!Then use the camera keys to select an alternative shot, and source overwrite to edit it into the timeline!
Audio Level and Markers
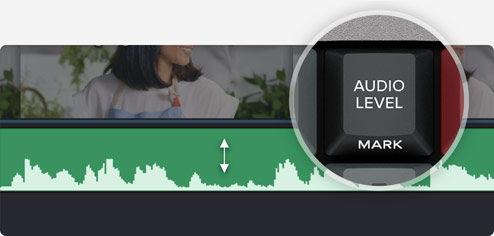
The audio level key lets you quickly set audio levels of clips by holding the key and adjusting the level using the search dial. That’s a fast way to set audio levels while editing! Double pressing the key lets you add a marker, and double pressing and holding allows you to set the marker color!
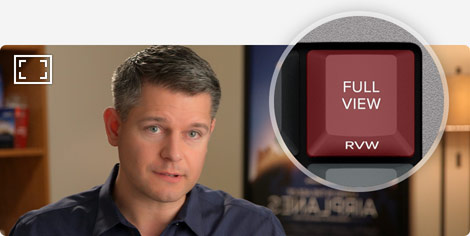
Full Screen Viewer
The full screen button is highlighted red so you can find it quickly and switch to a full screen view of your viewer. That’s great for presenting your editto clients! Plus if you double press the full view button, it will go into full screen view and play from just before your most recent edit!
Add Transition
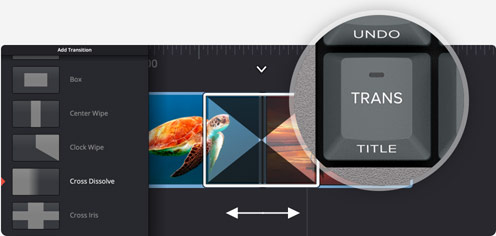
The transition button is similar to the cut and smooth cut buttons, however it will add a custom transition of your choice from a pallet of all the available DaVinci Resolve transitions. If you press and hold the transition button you’ll see the pallet appear allowing selection of the one you want.
Split and Move
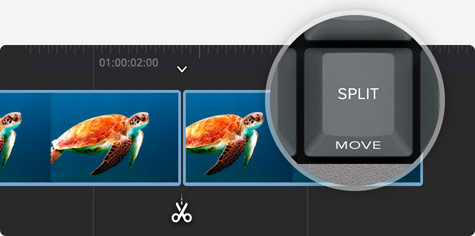
The split button will instantly cut the clip in the timeline at the current playback point. If you’re positioned on a split in a clip, then pressing the split button will remove the split. If you press and hold, you can use the search dial to move the current clip up and down the timeline!
Snap and Viewer Size
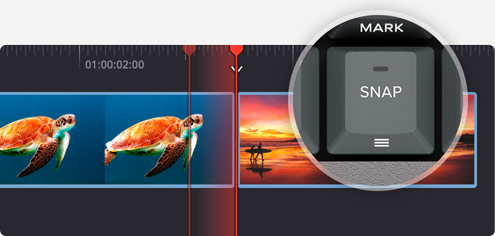
Pressing snap will turn on snapping in the timeline. Snapping on the speed editor is different, as it’s not magnetic so it’s more subtle! It works by momentarily pausing jog at the edit points so it’s nicer to use! Or if you press and hold, the search dial will let you adjust the viewer size.
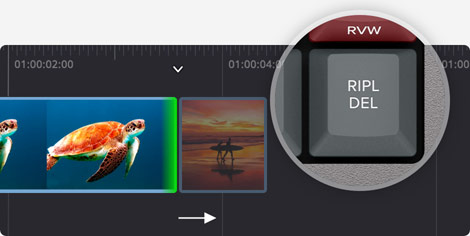
Ripple Delete
Ripple delete removes the current clip at the playback point then ripples the timeline to fill the space left by the deleted clip. This eliminates any blank spaces in the timeline. You can use it with split to remove parts of shots you don’t want. Plus, it will also reduce your timeline duration
Sync Bin Multi Camera Selection
The camera number section lets you select the cameras when using the cut page sync bin. Plus, if you press a camera number while turning the search dial, the selected camera will be applied to the timeline in real time as you jog forward. This feature is called live override and on the speed editor panel you can do it momentarily by holding the camera button, or you can latch it on using
the live override button. When live override is latched on, the buttons light up and you can select cameras just like a production switcher! You will see a multiview and you can just cut from camera to camera! Plus, this section even has the video only and audio only buttons for greater editing control!
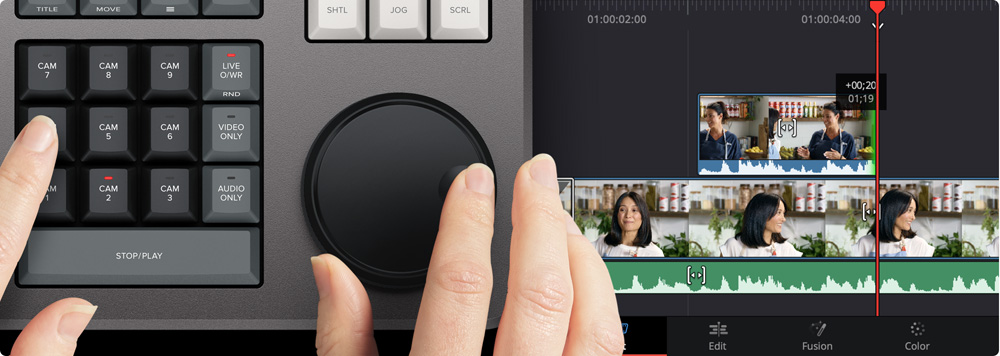
Both Bluetooth and USB Control
The DaVinci Resolve Speed Editor model includes built in Bluetooth so you can use the keyboard without messy wires, and you can even use it in conjunction with your regular computer keyboard. That’s perfect for using it with a laptop. You can also use the keyboard via USB if required and the USB connection will also charge the internal battery. With Bluetooth and a built in battery, the keyboard is extremely portable!

DaVinci Resolve Editor Keyboard
Premium Metal Design
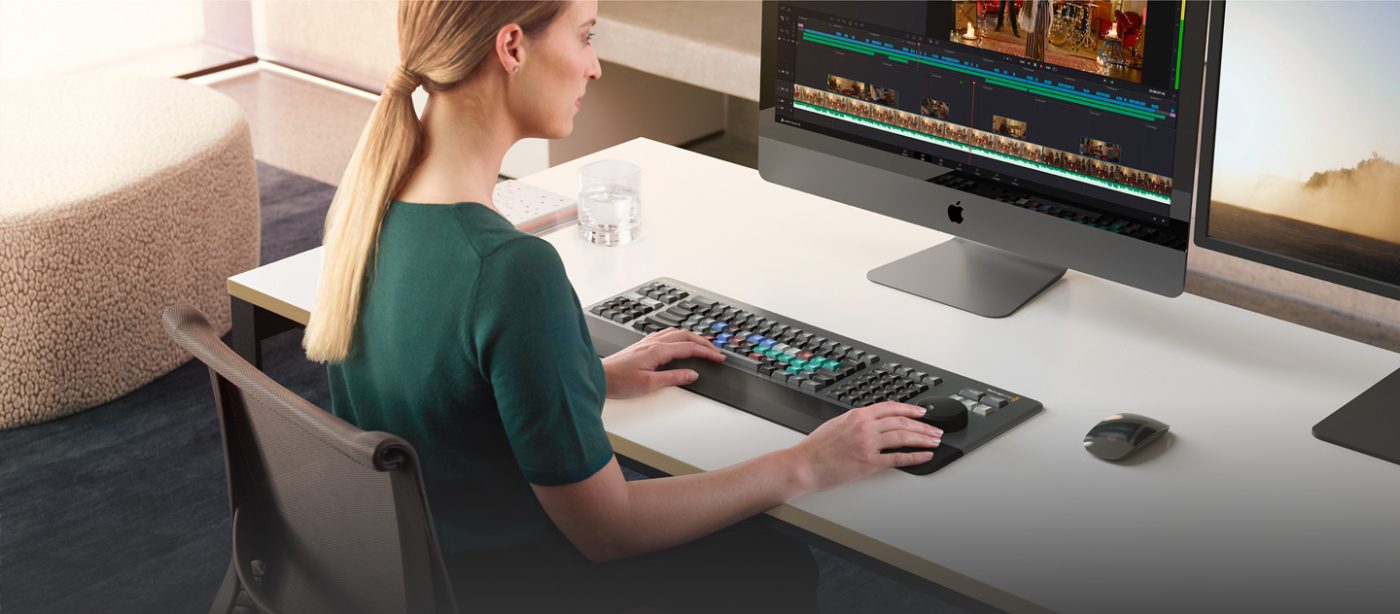
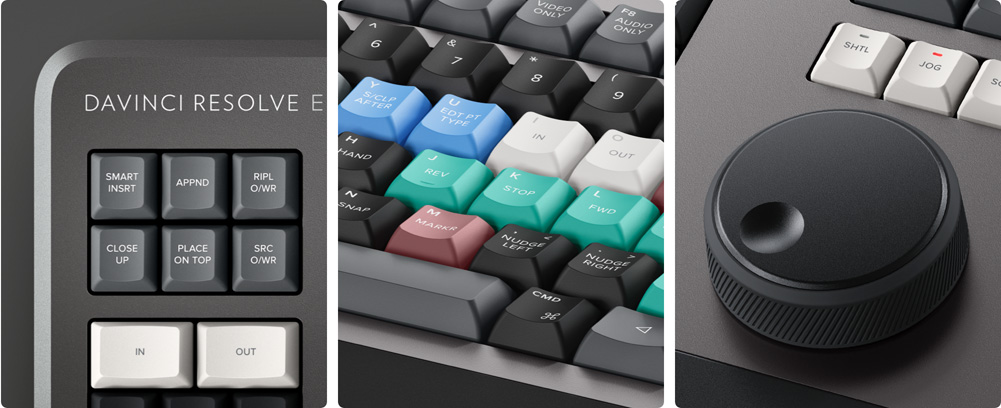
The full sized DaVinci Resolve Editor Keyboard is more traditional and has many features of the speed editor as well as a full sized traditional QWERTY editing optimized keyboard. This model is constructed from machined metal because it’s been designed for professional editors who spend hours each day editing and demand a traditional
full sized premium keyboard solution. Unlike modern keyboards with flat keys, the keys have a tiered profile so it’s easy to feel your way around. The key switches are the same type used by eSports keyboards and each key is certified for over a million operations. There’s even a hand rest with a soft feel to help reduce fatigue!
World’s Best DaVinci Keyboard
The new DaVinci Resolve Editor Keyboard also includes a revised QWERTY key layout that’s been updated using feedback from professional editors. However you still get all the traditional editing features for both the cut and edit pages in DaVinci Resolve, so the core QWERTY part of the keyboard still operates in a familiar way. All the standard edit modes are included on the main keyboard. Plus, you
get JKL trimming when you want to do playback and trimming via the keyboard and not the search dial. But you still get new features in the revised layout, such as a viewer button to allow instant change to full screen view, and it’s even possible to edit from the keyboard in full screen view!
Search Dial Control with Clutch
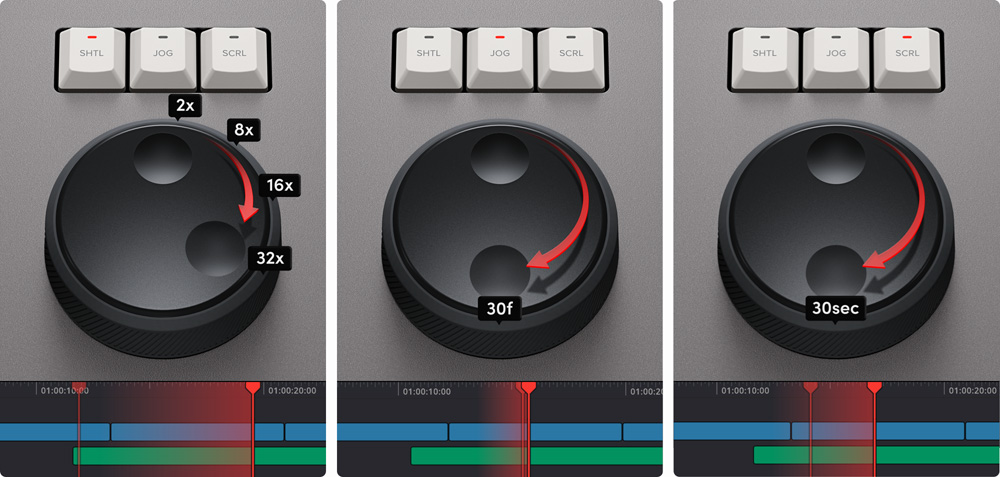
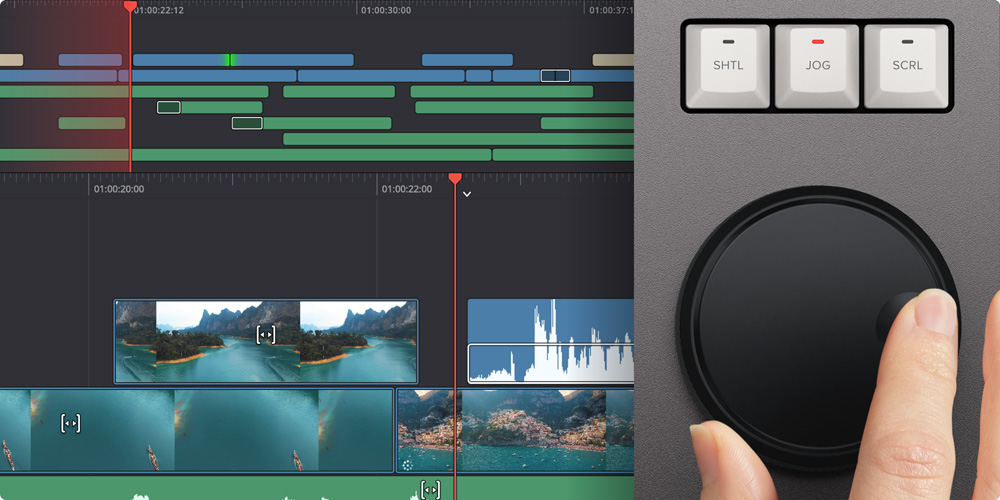
The integrated search dial is machined metal with rubber coating so it feels very nice to use and you always feel you have solid control over DaVinci Resolve’s clips or timeline. There’s an integrated electronic clutch that creates end stops when used for shuttle and position, all under software control. With multiple roller bearings, the search dial is very smooth and it can be spun in jog mode to allow
a natural timeline scroll. The jog control allows free movement for precise positioning of the playback point. Shuttle uses the clutch and you can rotate forward and reverse wind to move up and down the timeline. Scroll allows scrolling up and down a long edit to navigate quickly.
Direct Timecode Entry Keypad
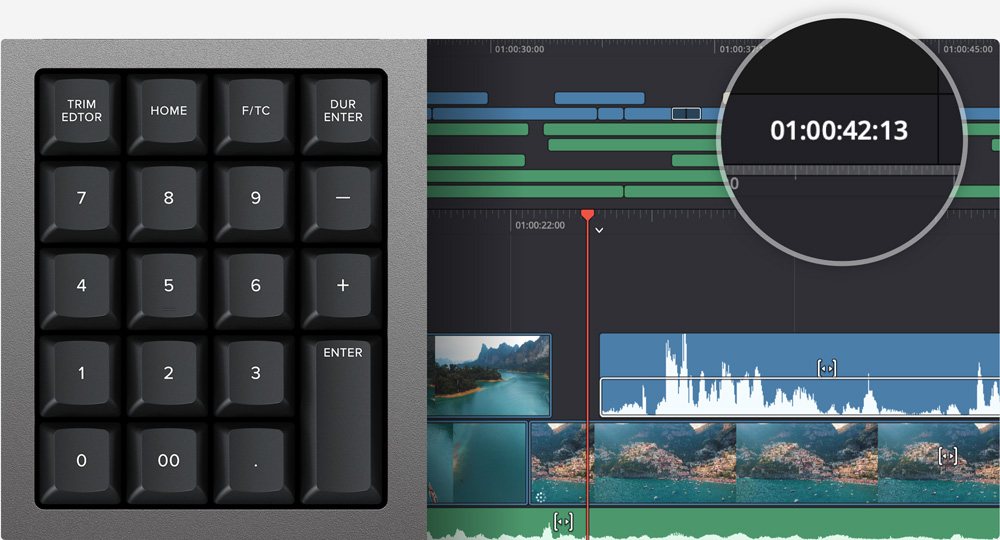
When entering edit points and durations numerically, there’s a keypad specifically designed for timecode entry. The F/TC button allows switching between timecode or frames. Just press the F/TC button and enter changes to frames. When typing longer timecode values, there’s also a double zero button so you don’t have to press the standard zero key as often. The plus and minus keys allow
ime values as offsets to current values vs absolute entry. A dedicated duration entry button allows you to numerically define the duration of a clip. Numeric duration entry is one of the most used functions! For example, if you need to set a 100 frame duration on a clip, just press DUR, F/TC and 100!
Designed for the
Desktop or Inset into a Console!
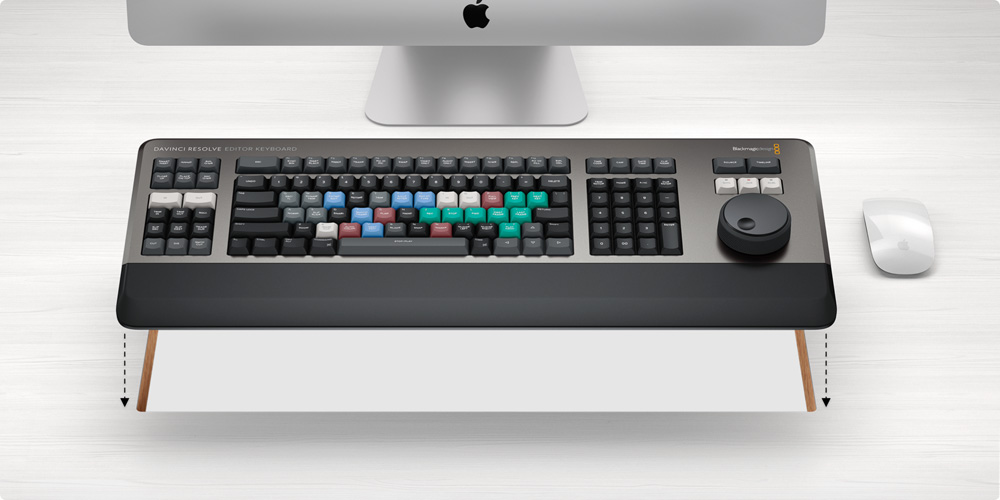
Although the DaVinci Resolve Editor Keyboard has been designed with a modern aesthetic, there’s also function to the form! The subtle edge created between the top keyboard surface and the lower chassis has a streamlined feel to the design that allows the keyboard to look good on a desktop. Plus, the keyboard is a fantastic visual match to
the latest computers that feature futuristic design. There’s even fold out feet to increase the keyboard tilt! However the flange has a functional benefit as you can install the keyboard in a cutout of a desk or console. When mounted into a desk, the keyboard will sit perfectly flat to the desk surface. This creates an amazing console look!
Instantly Sort
Bin and Source Tape
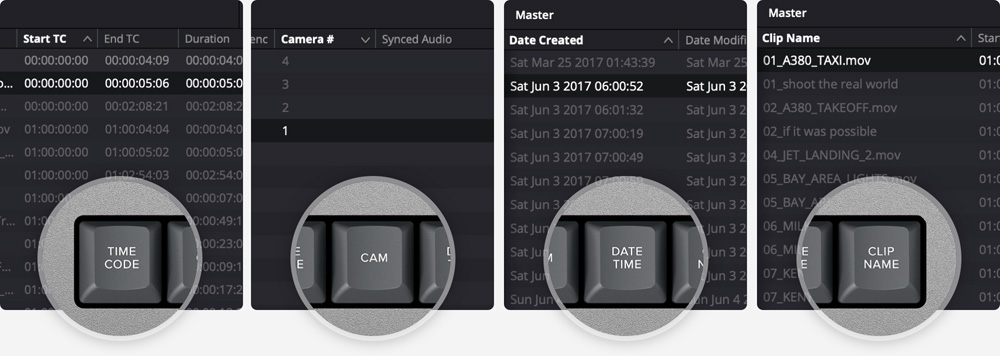
The full sized keyboard also features sorting keys to allow the source tape to be rearranged into different sort orders at the press of a button. You can sort the source tape by time, camera, duration or even clip name. The moment one of the bin sort buttons is selected, the source tape will be regenerated in that bin’s sort order. Simply scroll up and down the source tape to find the shots needed! Sort
by timecode to see all the bin media sorted by time, which is perfect for content shot in time order, such as live events. You can also sort by camera which is great for multi camera shoots where you need to find cut aways on specific cameras. You can even sort by duration and the clip name!
